Universal Remote - Part III
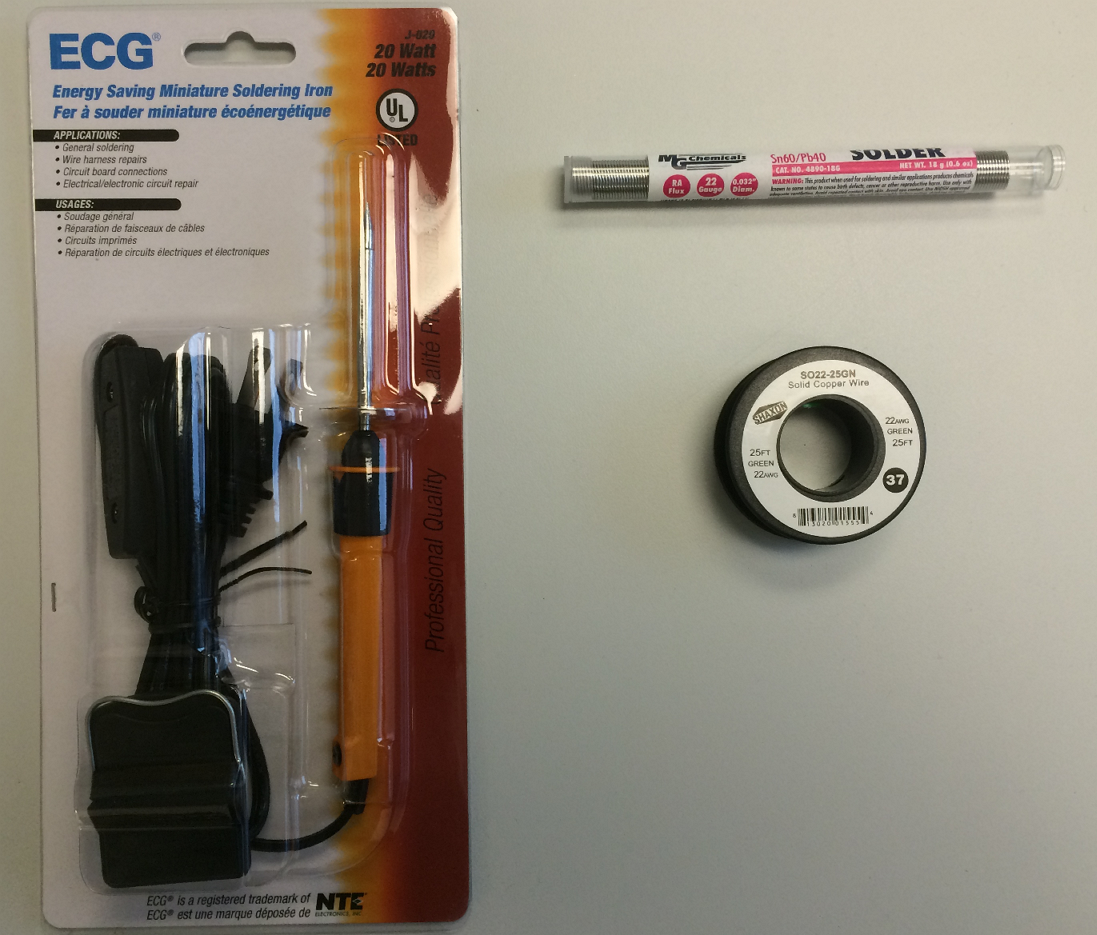
The only items I didn’t purchase online were the supplies for soldering and wiring. I went with the ECG 20 Watt Miniature Corded Soldering Iron, Sn60/Pb40 Solder and 22AWG Solid Copper Wire.
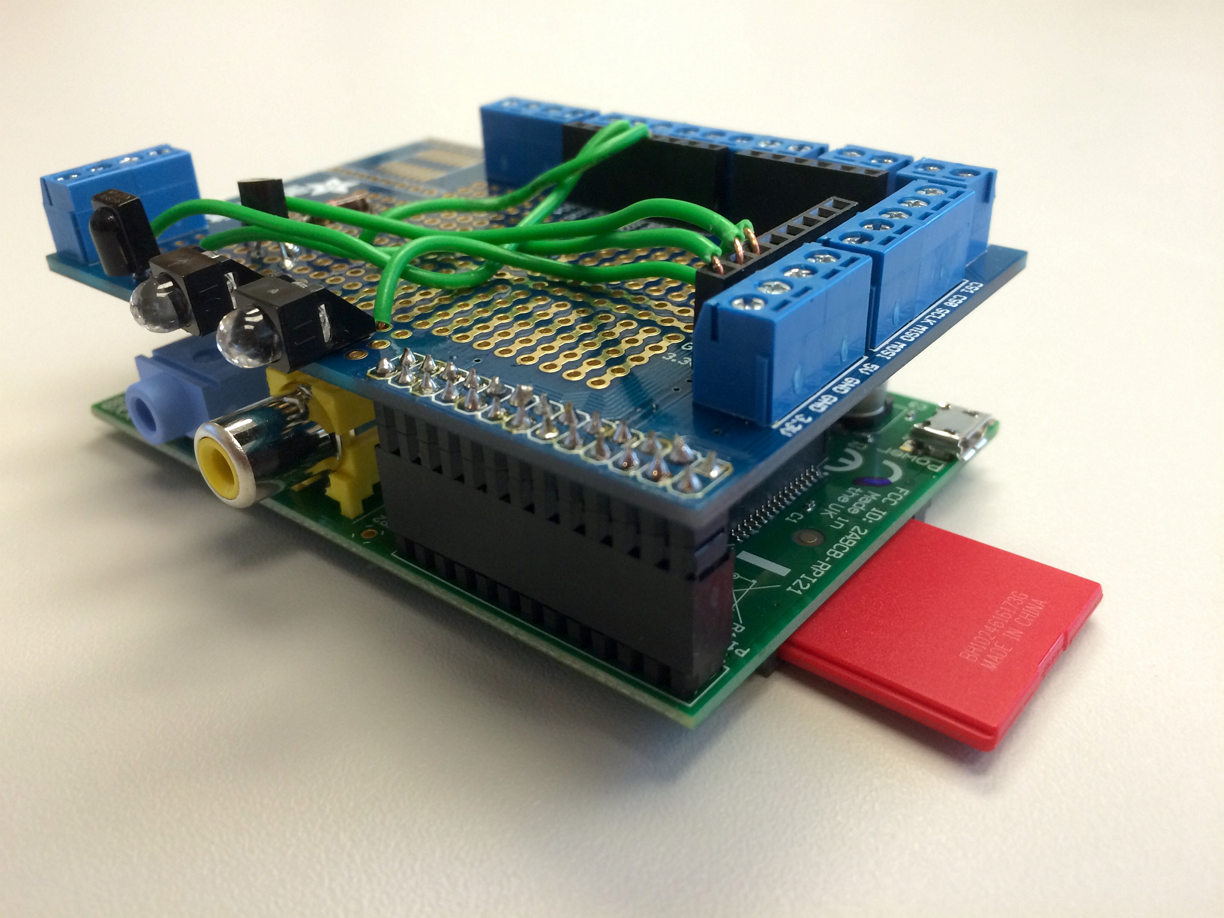
With all the components and tools needed, the first step was assembling the Adafruit Prototyping Pi Plate Kit following these instructions. Once complete I built the circuit for the IR receiver and transmitter. With the assembly complete the Prototyping Pi Plate connects to the Raspberry Pi via the GPIO pins. In addition to referencing the circuit diagram these high resolution pictures from alexba.in were very useful.
With the hardware assembled the next step is to install Raspbian as the OS on the SD card and the application LIRC for controlling the hardware to test functionality.